ULTIMATE GUIDE FOR HIKING TO HAVASUPAI
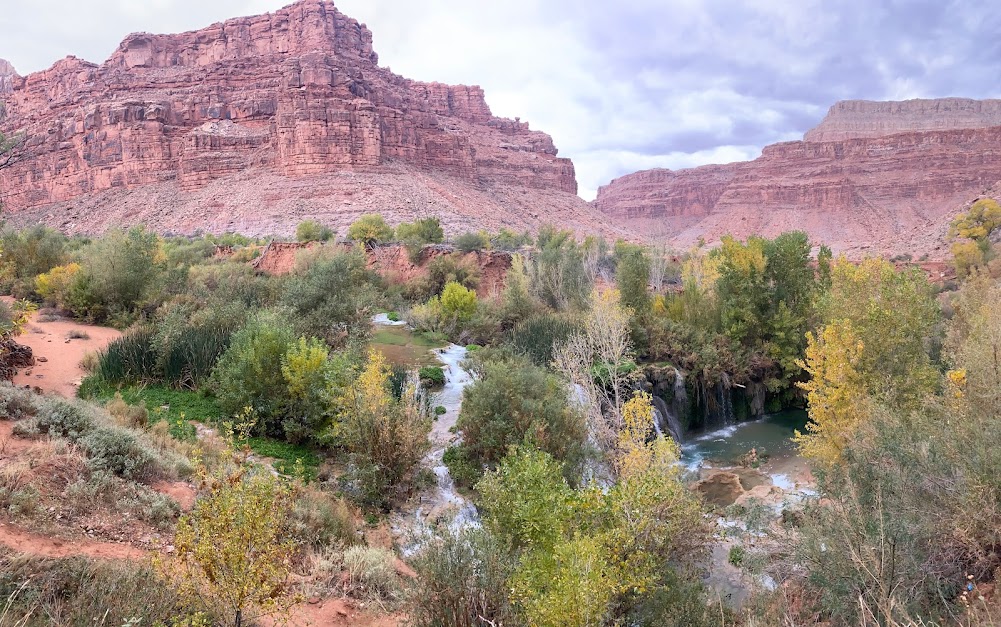
Havasupai, meaning “people of the blue-green waters,” refers to both the Havasupai Tribe and the remote area within the Grand Canyon that they inhabit. Maybe you’re like us and after you saw the pictures of the stunning waterfalls and canyons online, you decided you needed to visit immediately. This area is celebrated for its stunning waterfalls, picturesque waters, and the deep canyons that epitomize the beauty of the American Southwest. Located in the southwestern part of the Grand Canyon (not the national park) within the Havasupai Indian Reservation in Arizona, Havasupai is accessible only with a permit and only by foot or helicopter. The permit allows you to stay up to 3 nights in the campground which is next to beautiful blue-green waters and famous waterfalls. It takes a bit of planning and prep work to make the trek, but it is absolutely worth it. In this post we will explain everything you need to know about securing permits, getting to the campground, and seeing the mesmerizing waters for yourself.
WHEN TO VISIT Havasupai
Spring and early fall are the best times to visit. In the summer, temperatures creep up close to and past 100 degrees Fahrenheit. In the winter, you have significantly less daylight, and the nights are very cold. If you don’t mind the cold, you may have an easier time getting permits later in the season (in early November after daylight savings time). Just don’t forget your extra layers and headlamps!
HOW TO GET THERE
You will need to do a combo of flying and driving. The nearest major airports to Havasu Falls are Las Vegas, Nevada (4 hours drive) or Phoenix, Arizona (5 hours drive). We rented a car in Las Vegas from Budget.
The Havasu Falls trailhead is at Hualapai Hilltop, which is found at the end of BIA Road 18. The closest town is Peach Springs Arizona. Gas, lodging, and a small mini market are available here. We thought Peach Springs was perfect – we arrived late the day before starting our hike so we could check in, get dinner, repack our bags, and get a good night’s rest.
The closest larger towns are Kingman, AZ and Williams, AZ. These towns are around a 2.5 hour drive away. However, they will have more lodging options, places to buy supplies, and a few more restaurant options.
HOW TO GET A PERMIT
You can only visit Havasu Falls with a permit – and they’re a hot ticket to get. Typically permits sell out within minutes of being available. The sale of permits for Havasupai campground go live every February 1 at 8:00 AM, Arizona Time on the Havasupai Reservations site.
There are two different types of permits – campground permits or lodge permits. With the campground permits, you’ll need to bring your own camping gear and set up your campsite. With the lodge permits, you will stay in the lodge and do not need to bring your own camping equipment.
Permit costs are as follows:
$455 per person for a three-night campground permit.
$2,277 per lodge room (up to four people) for three nights. The lodge is in the town of Supai and these permits are even harder to get than campground permits.
Since permits go so fast, you’re going to want to create an account on the Havasupai Reservation site before February 1st. On the 1st, you’ll want to log in a few minutes before 8:00 AM and refresh your page until permits are live. It helps to go in with some flexibility for your dates.
However, if you aren’t one of the lucky ones to get permits when they go one sale, you may have better luck securing permits through the tribe’s permit resale page:
https://www.havasupaireservations.com/account/campground/cancellations/transfers
The price is not allowed to be changed by the reseller, so you won’t have to pay more even if you purchase it this way. We purchased our permits via the Transfers site in 2020. Our reservation was pushed out 3 years due to Covid, but we were finally able to go in the fall of 2023! Our family kept an eye on the Transfers site and were able to get permits and join us on our trip. We noticed that the later in the season, the more permits there are on the Transfers page – probably since it gets colder at night and there’s less daylight hours.
No Day Hikes Allowed. All visits to Havasupai and its waterfalls require an overnight stay. You cannot day hike.
WHERE TO STAY THE NIGHT BEFORE
The closest accommodation to Havasu Falls Trailhead is in Peach Springs, AZ, which is around a 90-minute drive from the trailhead. If you do not stay here, you can stay further out in Kingman but this is not recommended since it is at least 2 hours away.
There are two accommodation options in the Peach Springs area, which are as follows:
Grand Canyon Caverns Inn. This is where we stayed and we definitely recommend it. It’s a nice motel with clean, warm rooms, and it’s an easy drive to get to the trailhead the next day. It’ll also save you a little hassle since the day before your reservation starts you’ll need to check in here to sign a waiver and receive wristbands for your party. Make sure the person whose name is on the reservation brings their ID! The staff are used to Havasupai hikers and can help answer any questions you have.
While they don’t store baggage, they were able to hold on to our laptops while we hiked and we picked them up when we were done hiking. There is a minimart on site with some supplies in case you forgot anything, as well as a large cave that you can visit (but it was closed during our stay). They have a restaurant in the motel so you can have one last real meal before the hike. Continental breakfast is included, starting at 6AM with food like yogurts, cereal, and bread to have before you start hiking.
For dinner, we drove a few minutes down the road and ate at a restaurant (we’re not sure if it had an official name). We had burgers and got wraps to eat the next day during our hike. The food was decent and affordable and the apple pie was fantastic. You’ll drive about five minutes down the road, past a “dinosaur crossing” sign.
Hualapai Lodge – This hotel is a little further away and is in the small town of Peach Springs itself. It is a 2-star hotel with an on-site restaurant and seasonal hot-tub. You may need earplugs due to the proximity to the train line if you are a light sleeper.
Please note: previously visitors were allowed to sleep in their cars or camp at the trailhead parking lot, but this is no longer allowed.
What to expect at the trailhead and luggage storage
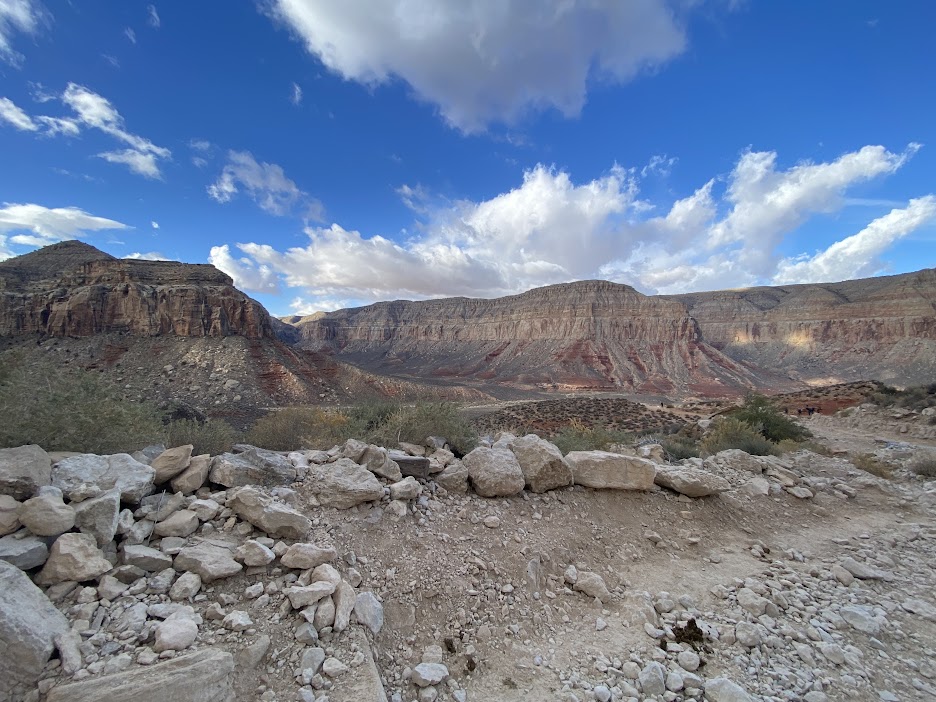
At the trailhead there is a paved parking area, and some composting toilets (some of the stalls did not have toilet paper when we were there). There are no services available at the trailhead, so make sure you have plenty of gas available for the round trip. The closest gas station is at Peach Springs. Cell service is very limited. Typically, you shouldn’t have a problem finding parking either in the small lot, or along the side of the road, since there are so many hikers coming in and out.
We left some baggage in our car and didn’t have any issues with break-ins. We stayed at the Grand Canyon Caverns Inn and they allowed us to store one small backpack (not a hiking backpack) for our group of four. Everyone in our group filled it with our computers and valuables that we didn’t want to bring on the hike or leave in the car. They gave us a ticket that we could use to pick up our bags after the hike, like at a coat check. We really appreciated that they offered this service.
We also left some water and snacks in the car for when we returned from the hike and we were so glad we did! All I was thinking about during those last two miles were the cookies waiting for me in the car.
Before starting our hike, someone checked our wristbands and made sure we had our permits.
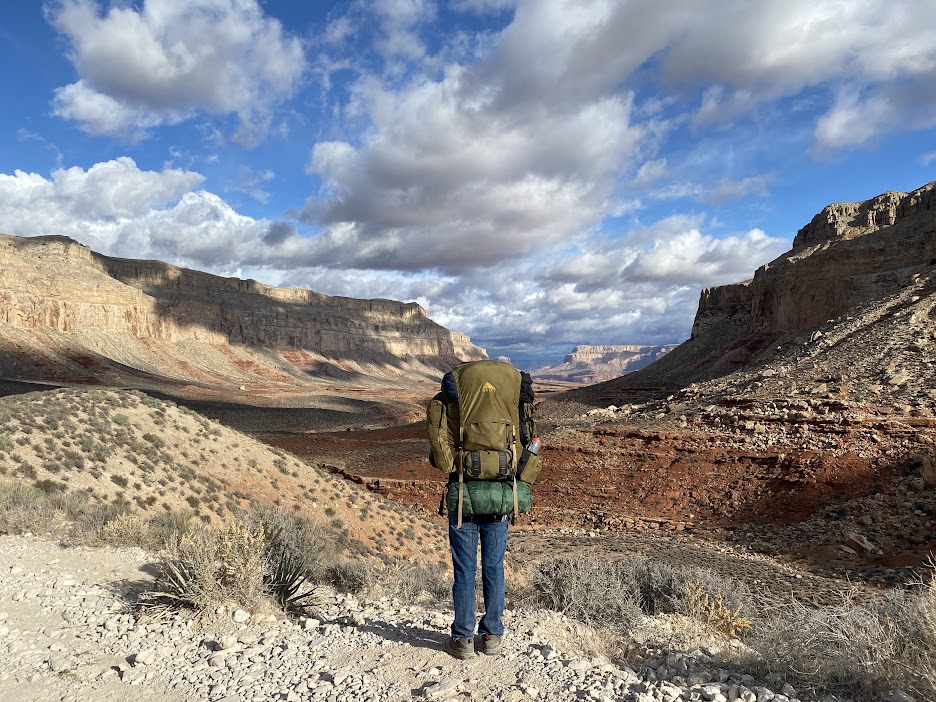
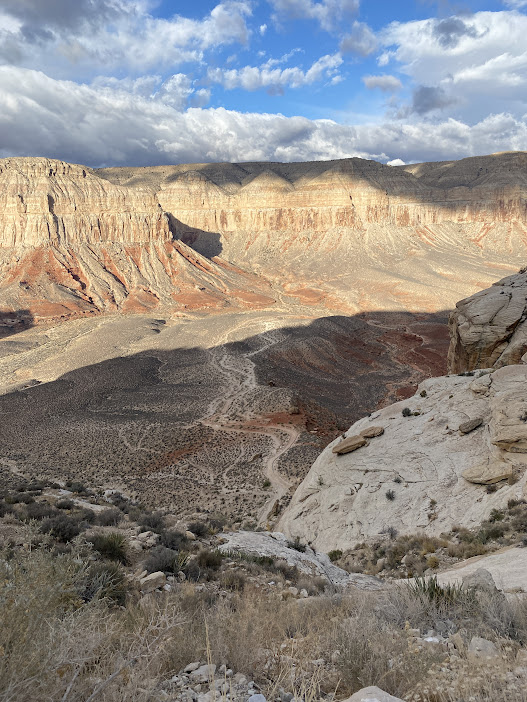
The trailhead and the beginning of the hike has some of the best views of the whole journey. Take some pictures early on to capture the expansive canyon.
WHEN TO START YOUR HIKE to havasupai
In the hotter months, try to get to the trailhead as early as possible so you’re not hiking in the hottest part of the day – some start as early as 4 AM! We visited in November, after daylight savings time, and started our hike at 7:30 AM. We also wanted to get an earlier start since we had less sunlight hours to complete our hike. The hike can take anywhere from 4-6 hours depending on how fast you hike and how many breaks you take.
WHAT TO BRING to havasupai
See our complete guide on what to bring here.
THE Day before your reservation
You must collect your permits prior to starting your hike. As of 2024, permit collection is at the Grand Canyon Caverns Inn. You must check in prior to the day of your reservation (before 5 PM) here. Otherwise, you will need to check in the next day when it opens and get a late start on your hike. When we went to the trailhead in the morning to start, we saw multiple people arriving to start their hike who had not checked in at the Grand Canyon Caverns Inn yet. They were denied entry and had to drive the hour back to the inn to get checked in. They likely had to hike in the dark that day after such a late start. So this is a VERY IMPORTANT piece of info to remember.
Bring cash – there are some vendors near Supai that sell delicious fry bread. The café in Supai took credit cards but the Fry Bread Tent owners will only take cash.
Getting to the Havasupai Campground
There are two ways for people to get to the campground and two ways for bags to get to the campground. People can either hike or take a helicopter (with their baggage). Bags can be hiked in or brought in via horse. Below you’ll find more info on the three different options.
Helicopter
If you do not want to hike down to the campground you can purchase a helicopter ride. AirWest provides helicopter transportation services independently of the Havasupai Tribe. All helicopter travel is managed onsite on the day of travel – you can’t pre schedule or pre book a flight. You’ll go from Hilltop (the trailhead) to Supai and vice versa during certain times of the week and year. Locals and supply trips take priority so you may have to wait a while to get onboard. Please call (623) 516-2790 or visit the AirWest website for the schedule. It will be around $100 per person.
Horse bag transport
You can also hire a horse to take your bags up/down to the campground so that you can hike without any weight. This is $400 roundtrip (you can also purchase one way) and allows up to 4 bags. We did this on the way back so that we could enjoy the hike out of the canyon without heavy packs. When you make your reservations, you will be given the option to pre-pay for a horse to transport your bags. If you’d like to use this service in the busier months, it’s advised that you book in advance. Also, the horses looked to be treated very well and appeared strong and healthy.
Hiking
The most common way to get to the Havasupai campground is to hike the 11ish miles into the canyon.
THE HIKE INto havasupai
Milage: 10-11 miles
Elevation Gain: 2400 ft
Difficulty: Medium
Time: 4-5 hours
*note: we found the trail on AllTrails to be an okay guide, but not 100% accurate in regards to mileage and elevation.
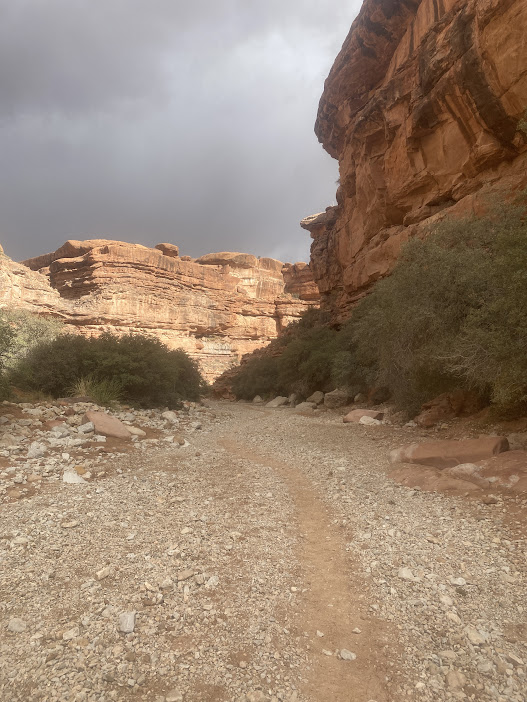
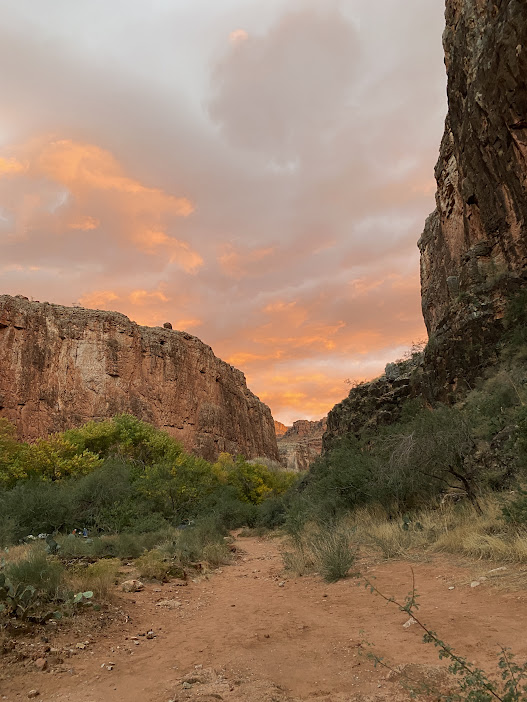
The hike is pretty straight forward. Most of the time you’ll be hiking through a desert between red rocks. You go out the same way you go in, so on your return trip, you’ll be reversing everything. It is around 8 miles to Supai and then another 2 miles to the beginning of the campground after leaving Supai. Overall, the hike is not too strenuous, it’s more the fact that it is 10-11 miles and that you are carrying a lot of weight.
The first 2 miles are straight downhill and full of switchbacks.
Then the trail evens out and is relatively flat for a while (about 5 miles).
About a mile before you hit Supai village, you’ll enter a shadier area with some tree coverage. The trail here is a combination of hard-packed dirt and sand and you’ll be walking in a wash. And good news – it’s a slight downhill into the town of Supai for about 1 mile.
Supai Village is a small town with some resources available to hikers like a post office, a grocery store, a cafe, and the Havasupai office. Grab a bite to eat at the cafe – the fry bread is a must. The portions are pretty big, so you can easily share one between two people. They also have some outlets here, so if you’d like to charge your phone or cameras, you can try and snag an outlet. If you’re missing anything food-wise, you can pop into the grocery store and grab some supplies.
We packed groceries ahead of time, but we met a group that was solely eating food they picked up at the grocery store here. If you decide that you’d like to book a horse to carry your baggage back up to the trailhead, you’ll need to register for it and pay at the Havasupai office here in town – it’s across the street from the helipad.
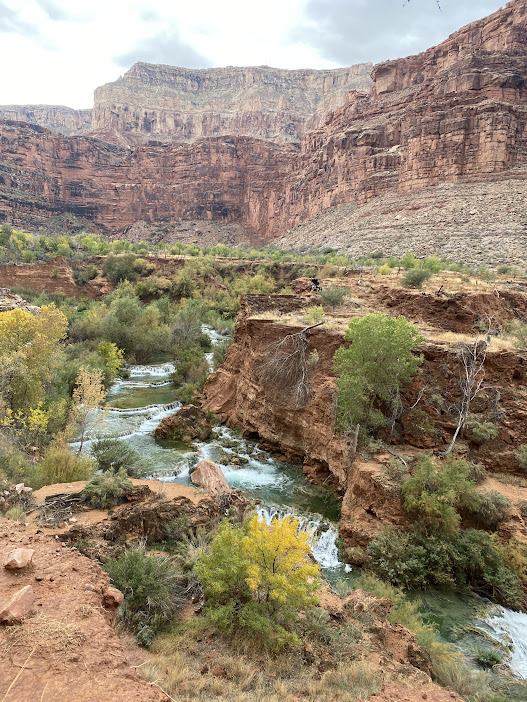
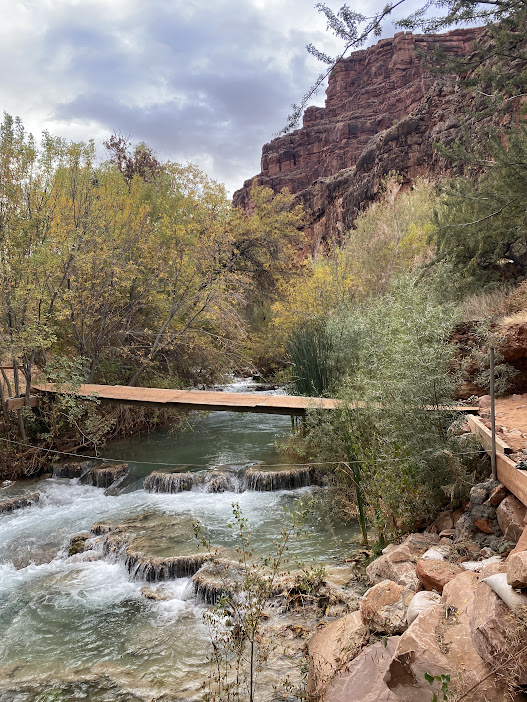
After the village of Supai, you’ll be walking downhill for the remaining 2 miles to the start of the campground. Now you’ll start seeing some of the beautiful waters and rivers. You’ll also cross over some fun boardwalk bridges! Once you reach the start of the campground, you’ll see a ranger station and some composting toilets. Time to pick out your campsite!
The climb out
The harder part is the climb out. You hike out the way you come in, so it’s another long hike. The hike out is a bit more challenging because you need to climb up over 1000 ft in under 2 miles at the end of the hike. This part is a bit of a slog, with steady switchbacks all the way up.
You’ll be sharing the trail with other hikers, Native Americans, and horses that are carrying supplies and baggage to Supai village. It can get a bit dusty as the horses go by, so you may want to consider a mask or a neck gaiter. We started our hike around 7:30 am and there were times we had the trail totally to ourselves which was amazing and a bit surreal.
Choosing a Campsite and toilets
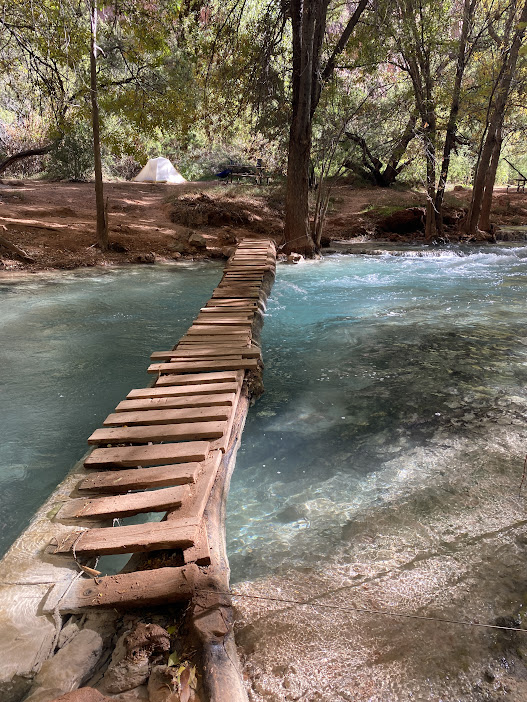
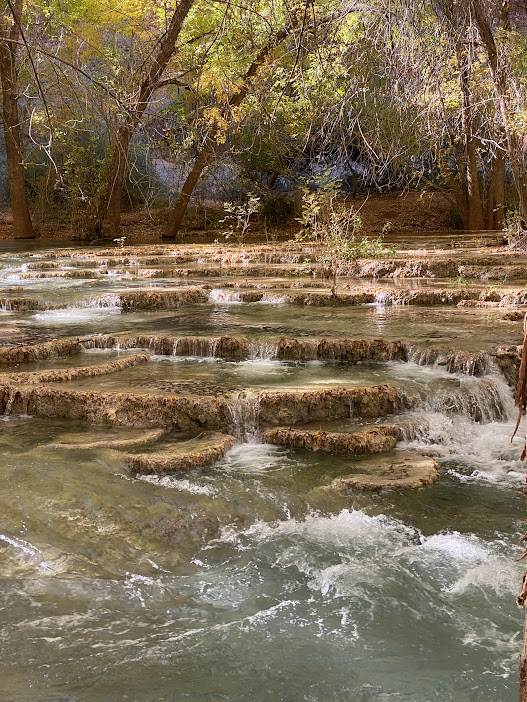
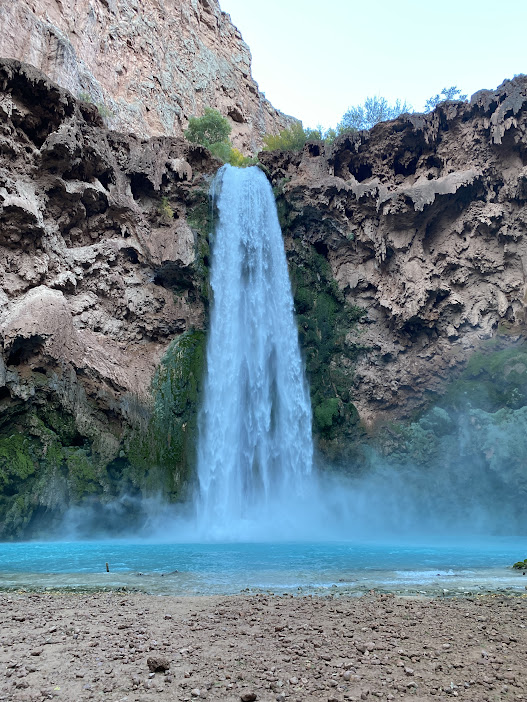
The campground stretches around half a mile. There are campsites on both sides of the river. However, there are only 1-2 sturdy crossings along the river. There are a few less-sturdy crossings that we saw people struggle with and even fall in the river. Crossing the river will give you a little more privacy but it is more inconvenient. There are also some campsites right at the top of Mooney falls too.
We recommend walking at least 5 minutes into the campground to look for a site along the river that is not right on the path. We noticed a lot of people were picking the river spots right when you entered the campground, but these were all basically on the main pathway. Therefore, they would experience a lot of noise and people walking by at night and early morning.
There is only one spot to refill water bottles which is closer to the campground entrance. It is a spigot sticking out of the mountain that taps into a spring. The water is actually very warm because it goes through the rocks which bake in the sun. It is a clean spring, and it is not necessary to boil the water or filter it further before drinking.
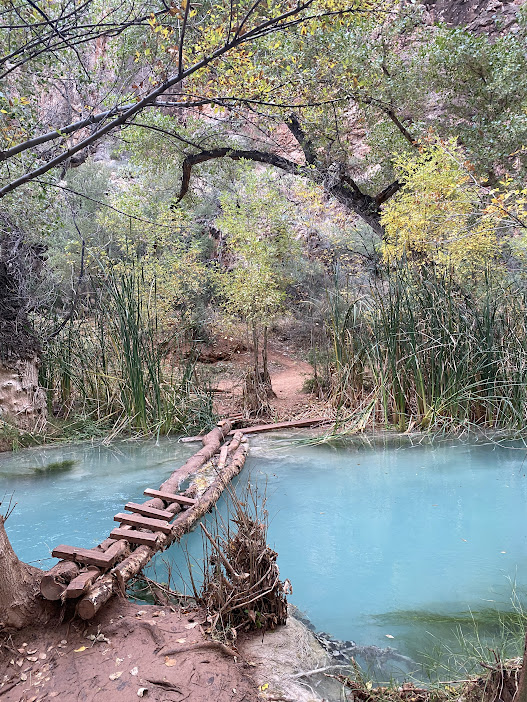
There are three composting toilet stations in the campground area, so you’re never too far from one (but you can easily find a place a little further away so it’s not as smelly and heavily trafficked). The toilets are at the entrance to the campground, about halfway through the campsites, and at the end, closer to Mooney Falls. I felt it was worth it to go a bit further in and pick a site closer to Mooney Falls. Behind the third toilet station, there is a wooden bridge that leads you to a little alcove in the middle of the waters. When we visited, this spot was less populated with campers and made for a cool, semi-isolated campsite.
What to do While You are There
There are a few things to do while you in Havasupai
Hike to Mooney Falls, Beaver Falls, or The Confluence
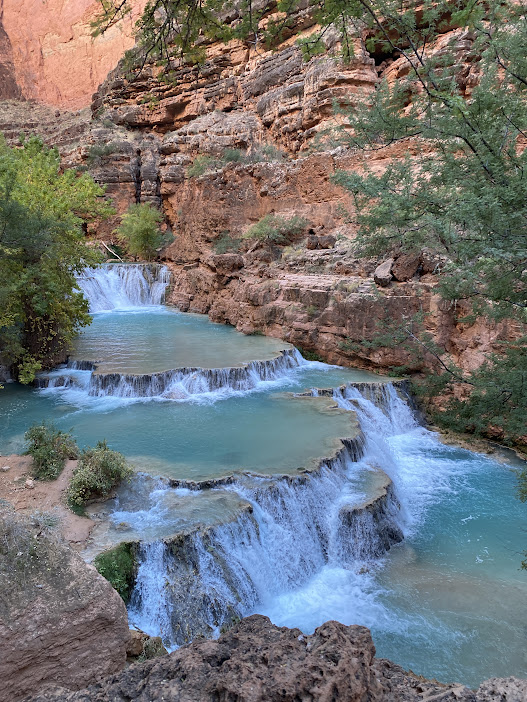
Hiking to Beaver Falls is a must! We recommend doing this on your first full day at the campground so that you have a full day to relax before the hike back. This hike takes you further into the canyon which goes past Mooney Falls, and eventually leads you to the famous Beaver Falls where you can go swimming and take great pictures. If you are up for a full day adventure, you can continue past Beaver Falls and reach the Confluence where the Havasu Creek meets the muddy Colorado River. You must be past Beaver Falls by 10AM to complete this hike though.
Visit Havasupai Falls
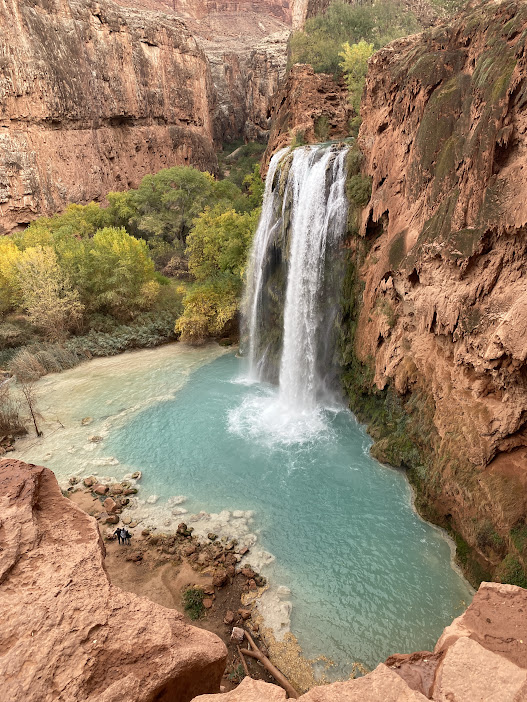
This magnificent waterfall is just a few steps away from the campground (you had to pass it hiking in). Head over here and go swimming in the deep pool at the base of the waterfall and take pictures. There are also some mini caves along the right side of the waterfall as well.
Visit Navajo Falls
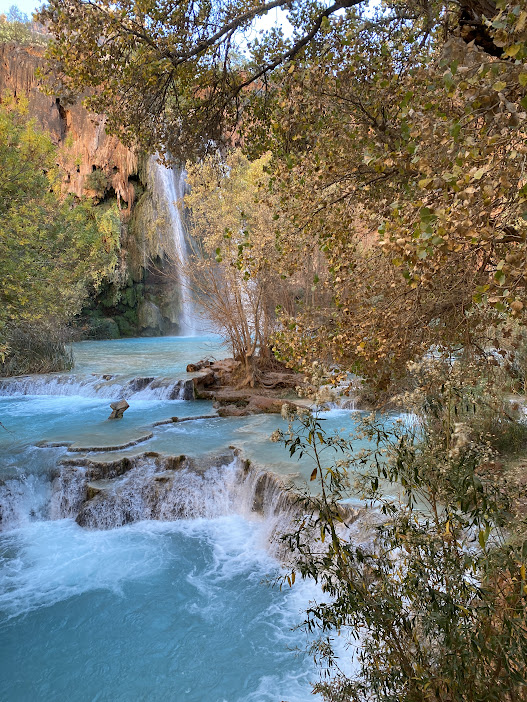
Further from the campground towards Supai village is Navajo falls. It is another beautiful waterfall that you can visit and swim nearby.
Buy Fry Bread
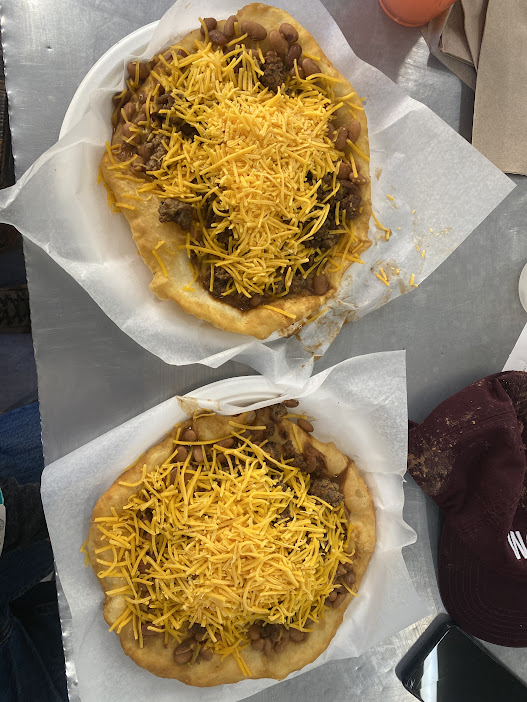
Grab some fry bread from either the fry bread stand or the cafe in Supai. It’s delicious! The fry bread places can keep unusual hours and the signs stating the times can be unreliable. Your best bet is to ask others who visited that day if the stands are open. You can walk to check for yourself, but you’ll be hiking straight uphill. Bring cash if you want to buy some from the stand. The cafe in Supai Village takes credit cards.
What is fry bread?
Fry bread is a Native American dish consisting of flattened dough fried in oil. Kind of like a flattened funnel cake. You can get it with either sweet or savory toppings. For sweet toppings, they have cinnamon and sugar and for savory toppings you can choose from toppings like ground beef, sour cream, beans, tomatoes, and cheese.
Star Gaze
The stars are amazing here with little to no light pollution. Walk towards Mooney Falls to get a nice wide-open view of the sky.
important notes
You must carry your own trash out.
You will need to arrive as early as possible to get started on the 11 mile hike to the campground. It gets very warm, and you will bake in the sun during the walk. So, the earlier the better to escape the heat and make it to the campground before dark. Also make sure to wear sunscreen and bring a hat as there is almost no shade.
Make sure to leave your valuables elsewhere and not in your car. Our motel (Grand Canyon Caverns Inn) in Peach Springs allowed us to leave 1 (regular sized) backpack with our valuables, like laptops, in it while we were in Havasupai. There have been break-ins in the past so it is best not to have anything valuable in your car. We did not see any signs of car break-ins when we arrived or left though.
There are multiple toilets in the campground. They are all composting toilets. There are no showers or electricity. The toilets are serviced regularly. After using the toilets it’s requested that you put a scoop of wood shavings (provided) into the toilet.
There are two tables of left behind items that you can browse – typically things that hikers didn’t want to carry back out. We saw half used gas canisters, books, shoes, and some other miscellaneous items.
There are racoons and ringtails at the campground which may try and steal your food. You will need to either have it in animal proof containers or hang a bear bag on a tree. There were a bunch of Home Depot sized plastic lidded buckets in the free to take area as you are entering the campground by the ranger station (ask the ranger if you don’t see them) that you can use to animal proof your food.
We borrowed these buckets and the first night our food was fine. However, the 2nd night we woke up at midnight to a loud pop. I eventually got out of the tent to see what it was, and it turns out a racoon opened the top of the bucket and stole some of our food. I followed the garbage trail of our now empty food packaging into the woods and eventually found the gluten free bread which only had one bite taken out of it (I guess racoons aren’t a fan of gluten free bread). So, make sure you put a big rock on the lid or put it under the picnic table seat so the racoons don’t have leverage to open it.
RECOMMENDED STOPS ON THE WAY TO LAS VEGAS
If you’re driving back to Las Vegas, there are a couple stops you can make along the way.
Hackberry General Store – Route 66
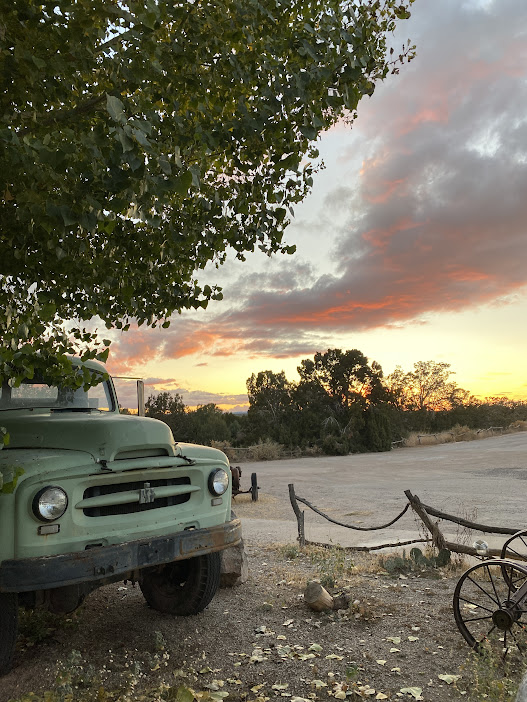
Hackberry General Store is a fun little pit stop on historic Route 66. They have some old cars and a (not functioning) gas pump, and a store with trinkets and souvenirs.
In N Out Burger
You’re probably starving after your long hike out. In N Out always hits the spot.
Juan’s Flaming Fajitas
Juan’s Flaming Fajitas is a small, local chain that is famous for its fajitas which are made tableside and are literally on fire! It’s a fun stop with big portions and strong margaritas.
NOT DONE TRAVELING?
Check out our guides of nearby areas:
Arizona
Best of Las Vegas – Off the Strip
Best of Las Vegas – On the Strip
Death Valley National Park